
How to Make Your Own Candles at Home: Simple Steps & Tips
Making your own candles at home? It’s easier than you might think. You get to pick the scent, color, and container—total control.
You only need three basics: wax, a wick, and a heat-safe container. A few simple tools help too.
You’ll save money and can make gifts or cozy accents that actually match your style. Melt wax, center the wick, add scent or color, and pour—just follow a few steps to get a candle that burns well and looks good.
Key Takeaways
- Gather simple supplies and set up a safe workspace before you start.
- Use the right tools and a steady hand for a clean pour.
- Add scent and color to make your candle yours.
Essential Materials and Candle-Making Tools
You’ll need wax, wicks, containers or molds, and a couple of basic tools. Choose materials that fit the candle shape and scent strength you’re after. Pick containers that can handle heat—safety first.
Types of Candle Wax: Soy, Beeswax, and Paraffin
Soy wax flakes melt at lower temps and hold fragrance nicely. Use 100% soy wax for a cleaner burn and easy jar cleanup.
Soy works best in containers and blends with paraffin if you want a firmer finish.
Beeswax pellets burn long and bright. They have a natural honey scent, which is honestly lovely on its own.
Beeswax is firmer, so it’s great for pillars and molded candles. It costs more but you can use less fragrance oil since it already smells good.
Paraffin wax gives a strong scent throw and a smooth finish. It melts cleanly and suits both containers and molds.
Paraffin can produce more soot than soy or beeswax. Use the right wick and crack a window if you’re concerned.
Choosing Candle Wicks and Holders
Pick your wick based on wax and candle size. Cotton wicks (braided or flat) work for soy and paraffin in most jars.
Wooden wicks add a soft crackle—pretty cozy—and suit wider tins or some glass jars.
Match wick size to container width. Too small? You get tunneling. Too big? High flame and soot.
Test wicks by burning a sample candle to check the melt pool and smoke. Keep wick trimmers nearby and cut the wick to about 1/4 inch before each relight.
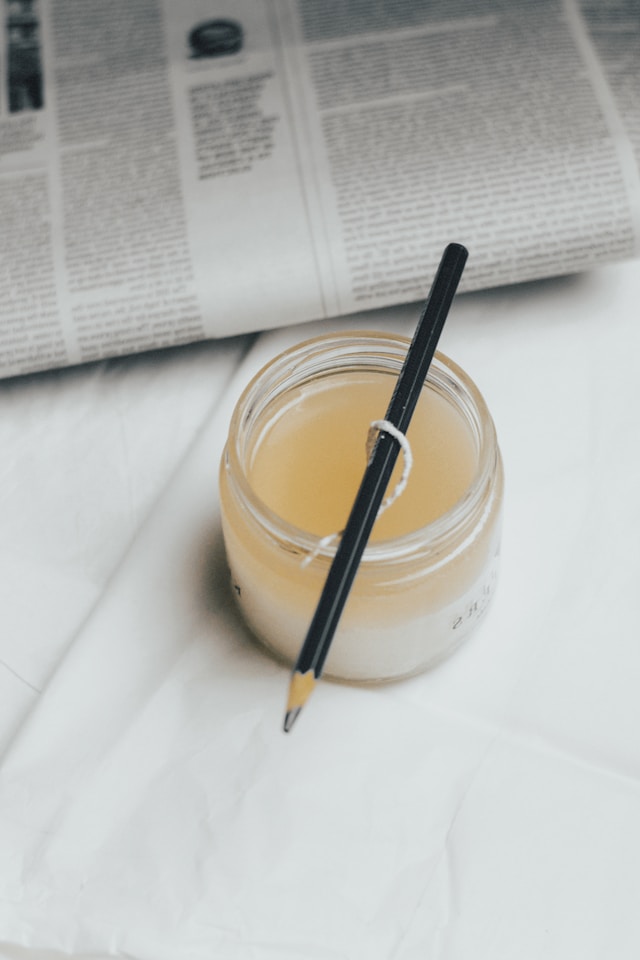
Use wick holders or even a clothespin to center the wick while the wax cools. Stick the metal tab to the jar base with a wick sticker or hot glue.
For wooden wicks, use the recommended clips or adhesive discs.
Selecting Candle Containers and Molds
Glass jars and mason jars are popular. They handle heat and show off the candle inside.
Pick thick-walled glass to avoid cracking. Metal tins work for travel candles and spread heat well.
For freestanding shapes, go with silicone or metal molds made for hot wax. Silicone releases easily and suits beeswax or paraffin.
Metal molds give sharper edges but might need a release spray.
Measure your container’s diameter for wick sizing. Jars with straight sides help the candle burn evenly.
Label and test each container type. Some glass jars hold heat differently, which affects how the wick burns.
Step-by-Step Guide to Making Candles at Home
Set up a clean, heat-safe workspace. Melt wax to the right temperature, center the wick, add fragrance if you want, and pour carefully so candles cool evenly.
Gather a double boiler or wax melter, thermometer, wicks, wax, and containers before you start.
Preparing Your Workspace and Setting Up
Clear a flat table near your stove or electric melter. Cover it with newspaper or a silicone mat to catch drips—makes cleanup easier.
Keep a fire extinguisher or baking soda close, just in case.
Arrange your supplies: wax, pre-tabbed wicks, glue dots or stickers, a thermometer, and a pouring pitcher. Label containers if you’re making different scents.
Use heat-safe containers like glass jars or metal tins.
Wear long sleeves, an apron, and heat-resistant gloves or oven mitts. Keep pets and kids out of the area.
Have a metal spoon or stirring stick and a timer handy.
Melting the Wax Using a Double Boiler
Use a double boiler, wax melting pot, or a metal pitcher inside a pot of simmering water. Cut or flake the wax into small pieces so it melts faster.
Heat slowly—don’t rush it or you’ll scorch the wax.
Check the temperature with a candy or digital thermometer. For soy wax, aim for about 170–185°F (77–85°C). Beeswax melts higher, around 145–175°F (63–79°C).
Don’t boil the water; a gentle simmer works best.
Stir gently and scrape the sides so all the wax melts. If you use a wax melter, follow the manufacturer’s batch size limits.
Take the wax off the heat before adding fragrance. That way, you won’t burn off the scent.
Securing the Wick and Setting the Mold or Container
Center the wick in your container or mold and keep it upright. Use a wick sticker, glue dot, or a dab of hot glue to stick the tab to the bottom.
Pick the right wick size for your container width and wax type. If you’re not sure, try a medium cotton wick or check a kit guide.
Hold the wick straight with a wick bar, chopstick, or clothespin across the top of the jar.
If you use more than one wick for wide candles, space them evenly.
For molded candles, pre-wax or lightly oil the mold so the candle pops out easily.
Adding Fragrance Oils and Essential Oils
Add fragrance or essential oils when the wax cools to the right temperature—usually 10–20°F below the melt point. That helps the wax absorb scent without losing it to heat.
Measure fragrance by weight. For soy, 6–10% is common. Beeswax usually needs less.
For 1 lb (454 g) of wax, use about 0.06–0.10 lb (27–45 g) of fragrance. Jot down your measurements if you want to repeat the recipe.
Stir slowly for 1–3 minutes so the scent mixes in well. Use oils labeled safe for candles.
Experiment with blends: essential oils give a subtle, natural aroma, while fragrance oils offer a stronger, more consistent scent.
Pouring, Cooling, and Trimming for Perfect Results
Pour your wax at the temperature listed on the label—usually between 135–150°F (57–66°C) for soy. Go slow when you pour it into the container to help avoid bubbles and messy spills.
Leave just a bit of space at the top. Let your candles cool on a flat surface at room temperature. Don’t move them for several hours; it’s tempting, but patience here pays off.
If you spot a sinkhole, just wait until the candle is cool enough to touch, then top it off with a little more melted wax.
Wait a full 24 hours, then trim the wick down to about 1/4 inch (6 mm). For container candles, do a test burn—make sure the first burn melts the wax all the way to the edge, or else you’ll get tunneling. I always label my jars with the scent and pour date. Trust me, you’ll thank yourself later.
- Quick safety checklist:
- Use a thermometer and gloves.
- Don’t ever leave melting wax alone.
- Keep flammable stuff far away.
- Ventilate the room if you’re using fragrance oils.