
How to Make Your Own Jewelry: A Friendly Beginner’s Guide
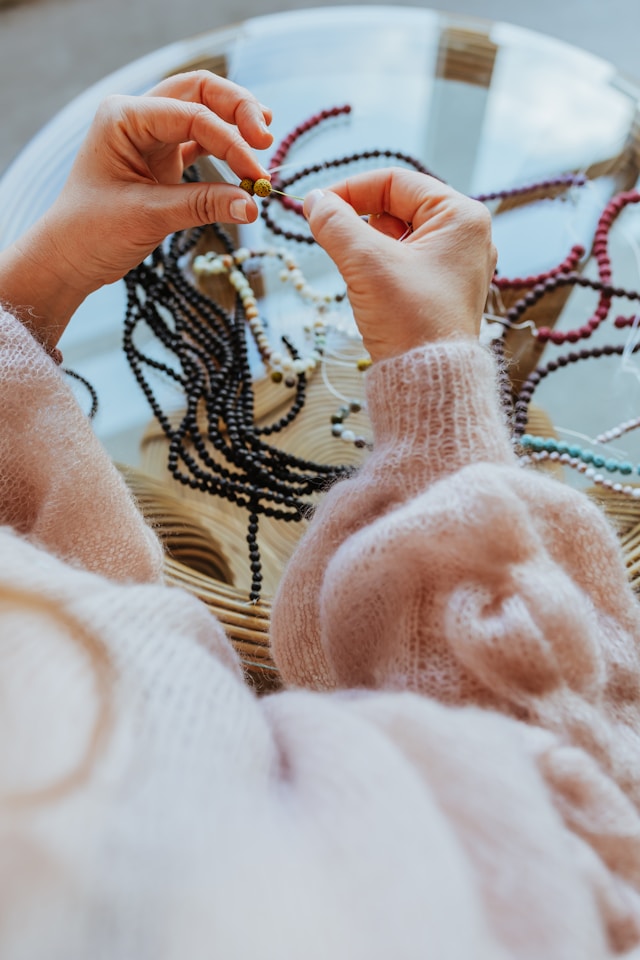
You can make beautiful jewelry with just a few simple tools and some basic techniques—even if you’ve never tried before. Start small with beads, wire, or cord, learn a couple of knots and jumps, and you’ll probably have bracelets, necklaces, and earrings finished in a single afternoon.
As you try a few projects, you’ll figure out which tools and materials actually fit your style and budget. Follow step-by-step projects to build skill and confidence, then tweak designs to make pieces that feel like you.
Key Takeaways
- Start with simple projects that teach core skills.
- Gather a small set of versatile tools and materials.
- Practice step-by-step techniques to gain confidence.
Essential Tools and Materials
You don’t need a ton of fancy stuff to make jewelry that lasts and looks good. Focus on pliers, cutters, stringing options, and common findings so your pieces feel finished and hold up.
Choosing the Right Jewelry-Making Tools
Start with three pliers: round nose pliers for making loops, chain nose pliers for gripping and closing jump rings, and flat or bent nose pliers for holding and straightening. Add wire cutters or flush cutters to trim wire cleanly.
A pair of crimping pliers helps you secure crimp beads on beading wire. Only get a small jeweler’s saw or file if you plan to cut metal.
Grab a bench block or bench peg for hammering and shaping. Tool kits from craft stores or suppliers like Fire Mountain Gems and Beads make it easy to get started.
Pick tools with comfortable grips—you’ll use them a lot, and hand cramps are no fun.
Understanding Basic Materials and Findings
Beading wire and cord are your main stringing materials. Use beading wire for necklaces and bracelets that need structure.
Nylon cord or leather works well for more casual pieces. Keep extra stringing materials in different thicknesses so they fit bead holes.
Stock up on findings: jump rings, clasps (lobster clasps are super versatile), crimps, head pins, and eye pins. Crimp beads secure beading wire to a jump ring or clasp.
Head pins and eye pins turn beads into dangles or links. Keep spare ear wires and a few small chain extenders handy for sizing.
Buy quality findings from a reliable supplier to avoid tarnish and weak links. Trust me, cheap stuff will just break and frustrate you.
Selecting Beads, Charms, and Pendants
Pick beads that fit your design and the thickness of your wire or cord. Seed beads, glass beads, and gemstone beads all give different looks.
Always check the hole size before buying. Use larger-holed beads with thicker cord, or carefully ream holes if you need to.
Choose charms and pendants that suit your focal point. Attach pendants with jump rings or eye pins.
Use head pins to turn beads into pendants or drops for earrings. Mixing metals and natural materials—like pearls, wood, or gemstone chips—adds texture and keeps things interesting.
Shop at local craft stores or online vendors like Fire Mountain Gems and Beads for a wide selection. Keep organized bins for beads, charms, and findings so you can find matching pieces quickly.
Jewelry Making Techniques and Step-by-Step Projects
You’ll find clear, hands-on steps for earrings, bracelets, and necklaces, plus practical tips to make pieces that sit well and last. Each project lists tools, core steps, and small design choices that actually matter.
Making Earrings Easily
Start with basic tools: round-nose pliers, flat-nose pliers, wire cutters, and headpins. Pick out your beads or small gemstones (4–8 mm) and ear wires.
Thread a bead onto a headpin, make a loop by bending the wire at 90°, wrap it around round-nose pliers, and trim the tail. Use flat-nose pliers to close the loop so it sits tight against the bead.
Repeat for the second earring, matching length and bead orientation. For dangles, add a short chain or a jump ring between the loop and the ear wire.
For studs, glue a flat-backed cabochon or use a pre-made stud base. Check symmetry by laying both earrings side by side before finishing.
Use sterling or gold-filled findings for durability and to avoid skin reactions.
Simple Bracelets and Stretch Bracelets
For a knotted beaded bracelet, use beading thread or cord and a needle. Lay out your bead pattern first.
Slide the beads on, tie a secure surgeon’s knot, add a dab of clear jewelry glue, and trim the excess. Hide the knot inside a bead if you can.
Use a clasp or a sliding knot for adjustable length. For stretch bracelets, use quality elastic cord and a bead reamer if bead holes are tight.
String beads, tie a double surgeon’s knot, then add two more overhand knots and pull tight. Add a dot of glue on the knot and tuck it inside a bead hole.
Cut close to the knot. Measure your wrist plus 6–8 mm for comfort and test stretch before wearing.
Crafting Necklaces and Pendant Designs
Decide if you want a beaded strand, a chain with a pendant, or a mixed-media piece. For a pendant necklace, pick a center focal like a gemstone, charm, or bezel.
Attach the pendant to a chain with a jump ring. Close the ring fully with pliers so it won’t snag.
For beaded necklaces, use beading wire and crimp beads to secure clasps. Thread a crimp, loop the wire through the clasp, back through the crimp, and squeeze flat with crimping pliers.
Use a bead board to plan length and balance heavier elements near the center. Silk knots between pearls or gemstones prevent rubbing and loss if the strand breaks.
Tips for DIY Jewelry Success
Find a clean, well-lit surface, and use a tray so you don’t lose any tiny parts. I always keep my pliers, cutters, and files together—makes life easier.
Label those little containers for gemstones and findings, or you’ll end up with a mess. I can’t count how many times I’ve mixed up beads by accident.
Measure twice—seriously, test how pieces look on your hand, wrist, or neck before you tie that final knot or crimp. If you’re not sure about wire, go thinner for delicate beads and thicker for loops that need to hold their shape.
Sand down rough edges, and grab a file for cut wire ends so nothing snags. It’s a small step but totally worth it.
Practice a couple of basic knots and loops until they look the same each time. Honestly, start with cheap beads while you figure things out.
As you get better, swap out ear wires or clasps for nicer ones. Your skills and designs will thank you.